
DIY • A creative and simple way to hang and display your photos in any room • family photographer in Washington DC
Super easy craft to display your best memories everywhere.
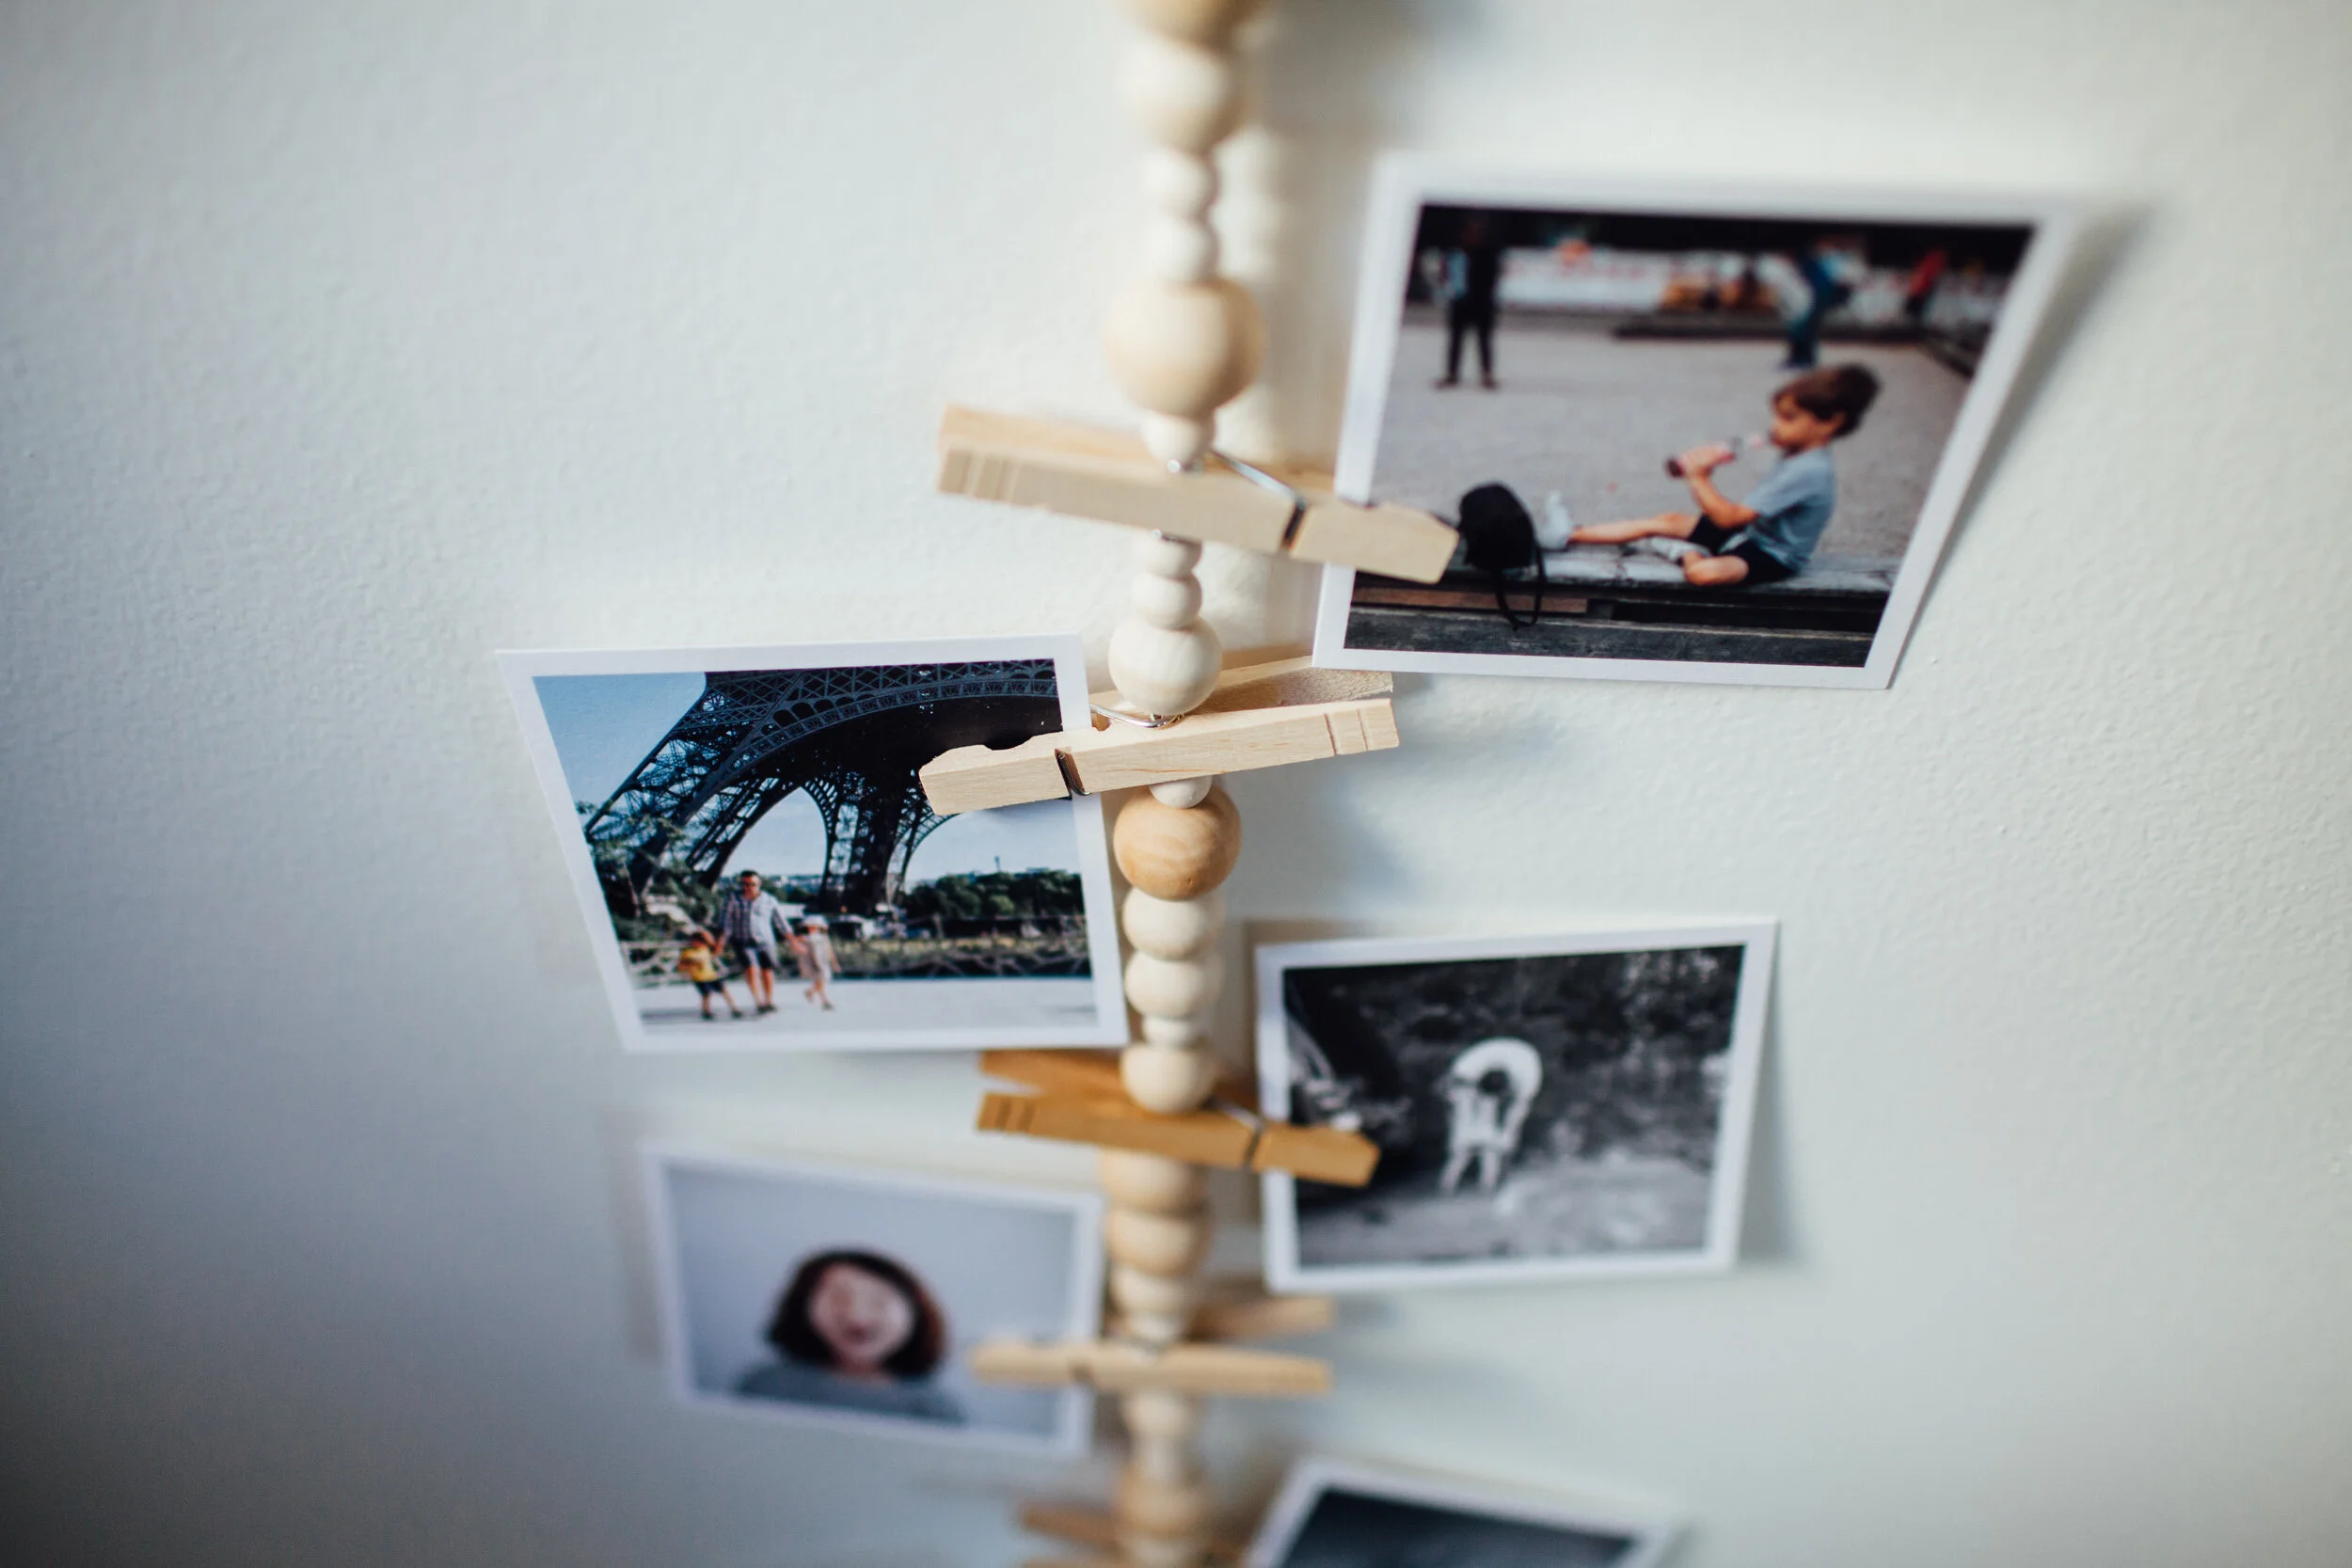
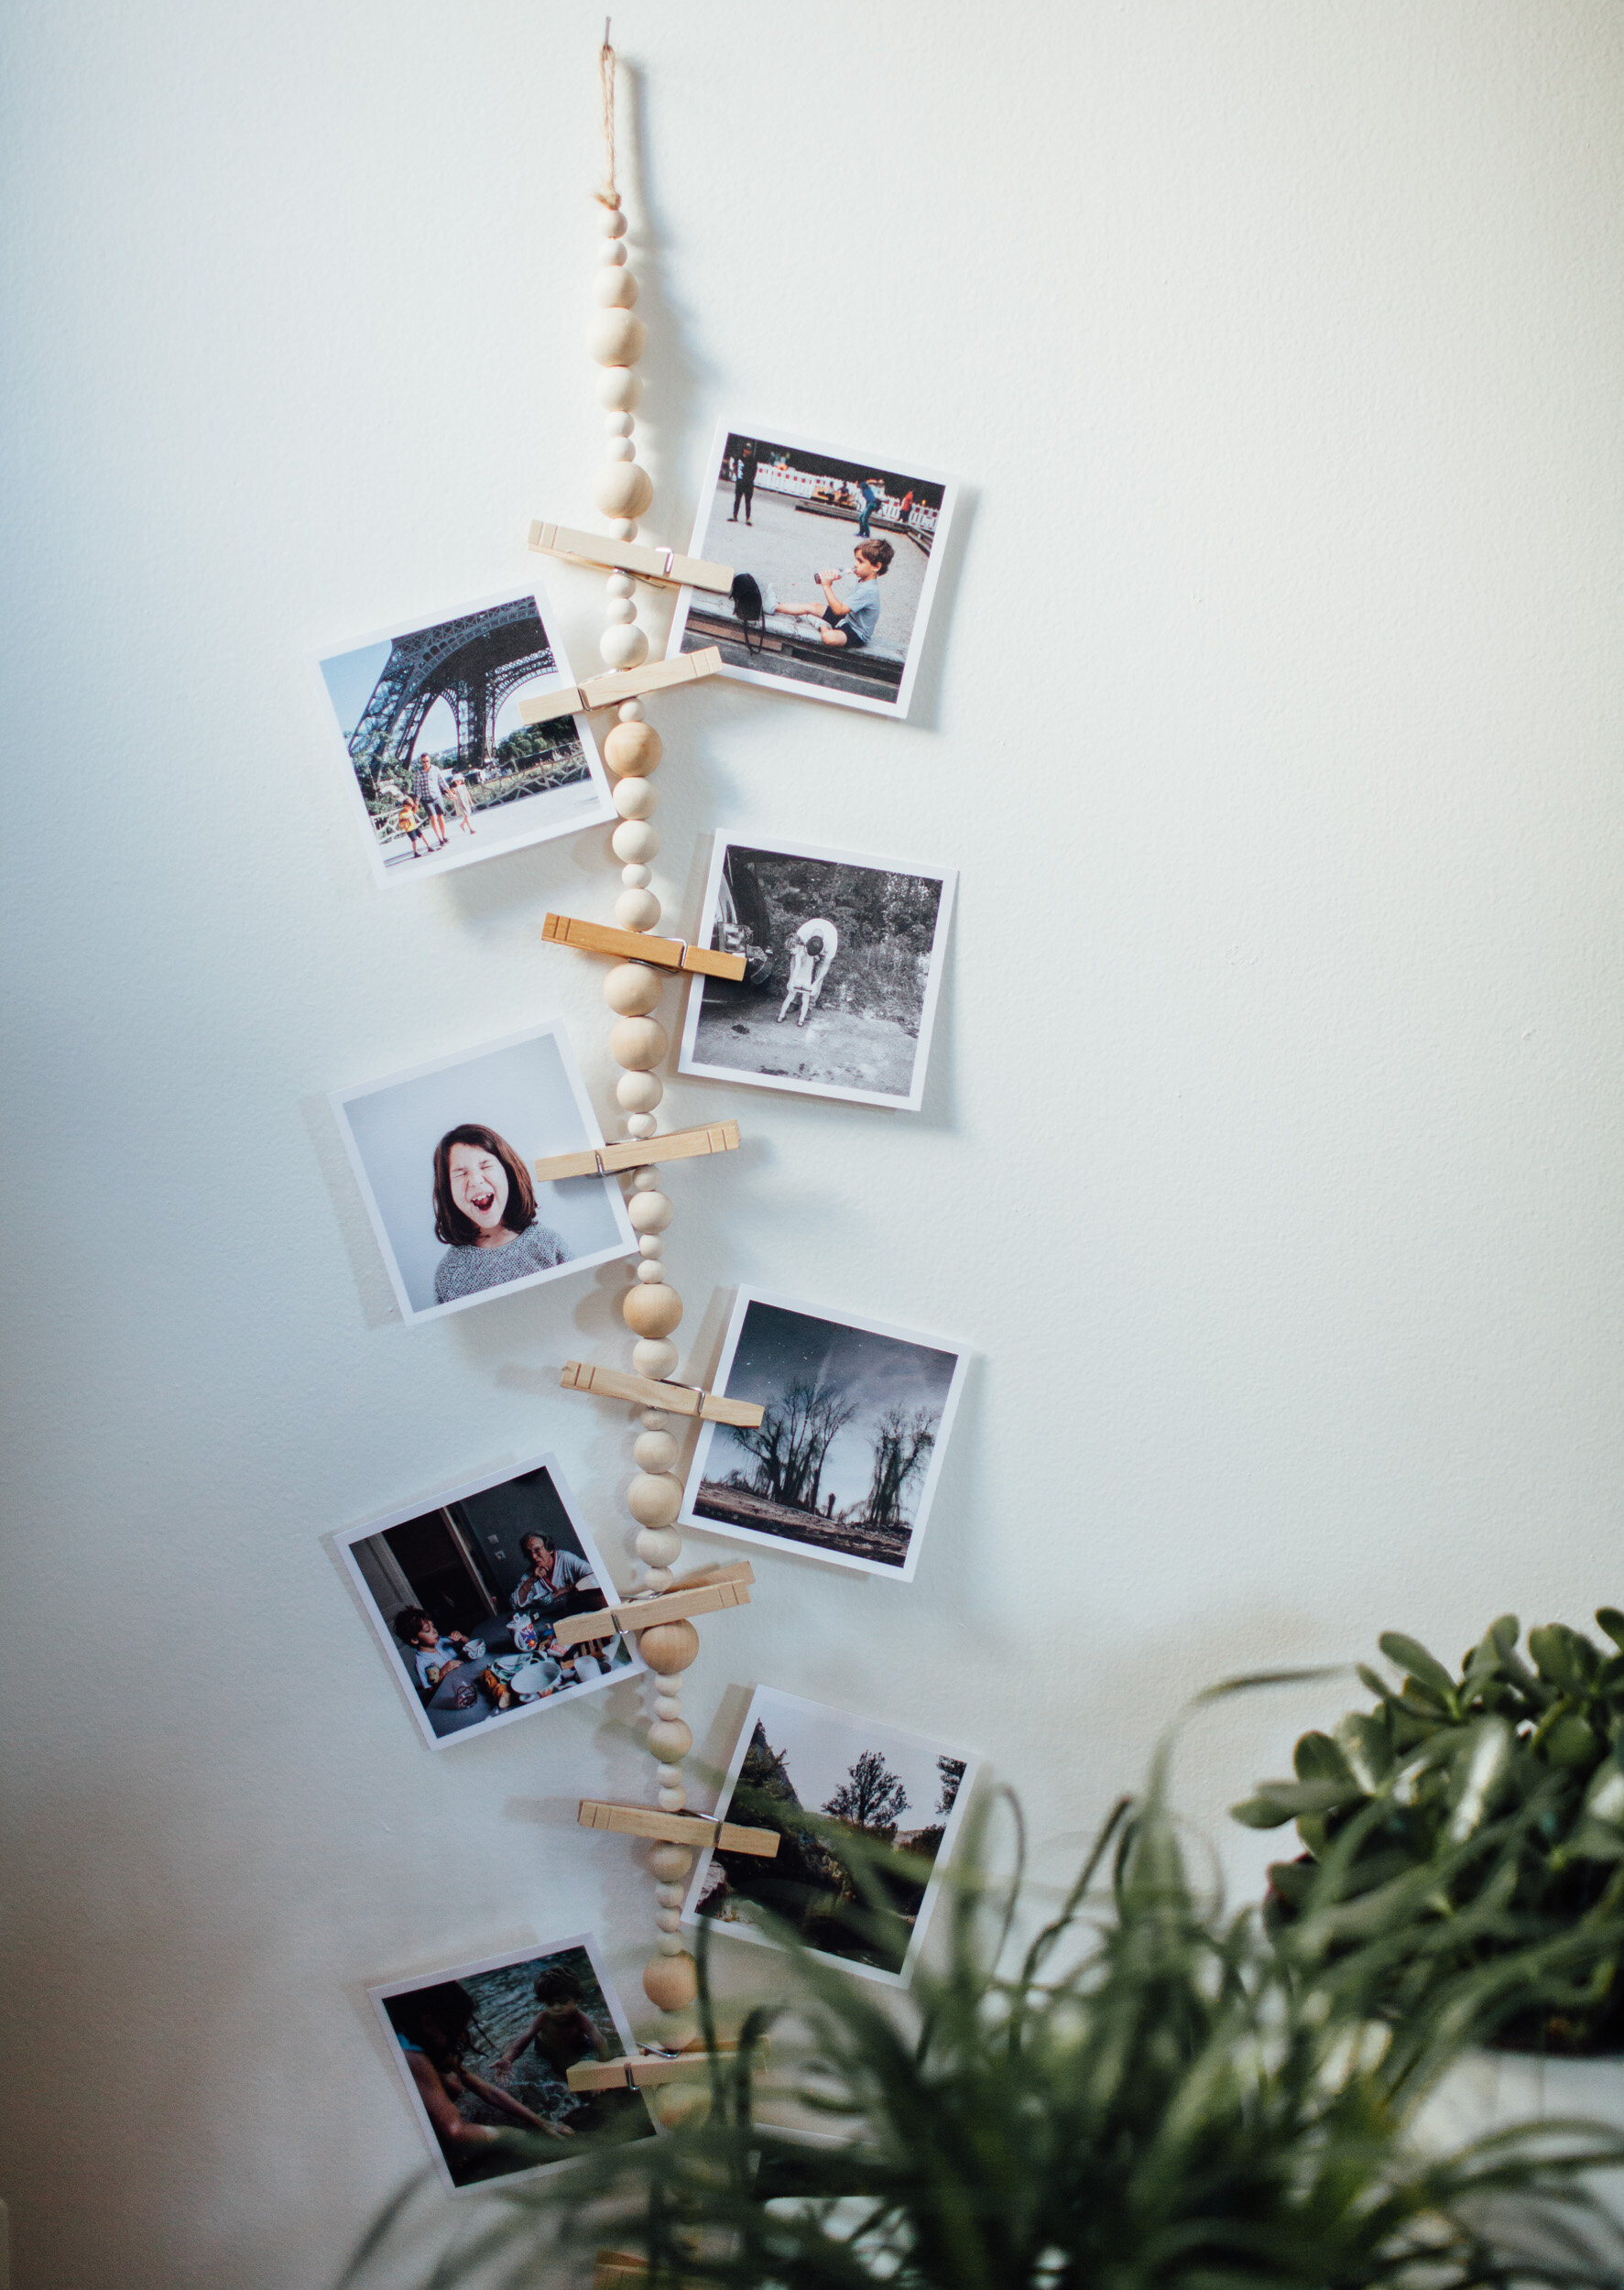
I recently made this fun garland with wooden beads to display my photos. It is super easy and you can hang it e.v.e.r.y.w.h.e.r.e: a bedroom, your office, the living room, a hallway? Choice is yours.
It matches any style (seriously) and always looks great.
This is a very nice craft to do with your kids. Little ones will practice their fine motor skills and big kids can be creative with colors, shapes, patterns... Did I mention it takes a few minutes and is super cheap?
Perfect gift for any occasion: a birthday, Valentine’s day, Mother’s day, perfect for holiday cards...

WHAT YOU NEED
Natural twine, or raffia, or wool…
Wood beads of different size, shape, or color depending the effect you want
Wooden clothespins (I found mine second hand in a thrift shop)
Tapestry needle
STEPS
Tie off a knot and create a big loop so you can hang your garland easily.
Add the beads to the twine. Use a large tapestry needle to go faster (if beads have small holes or if the twine frays).
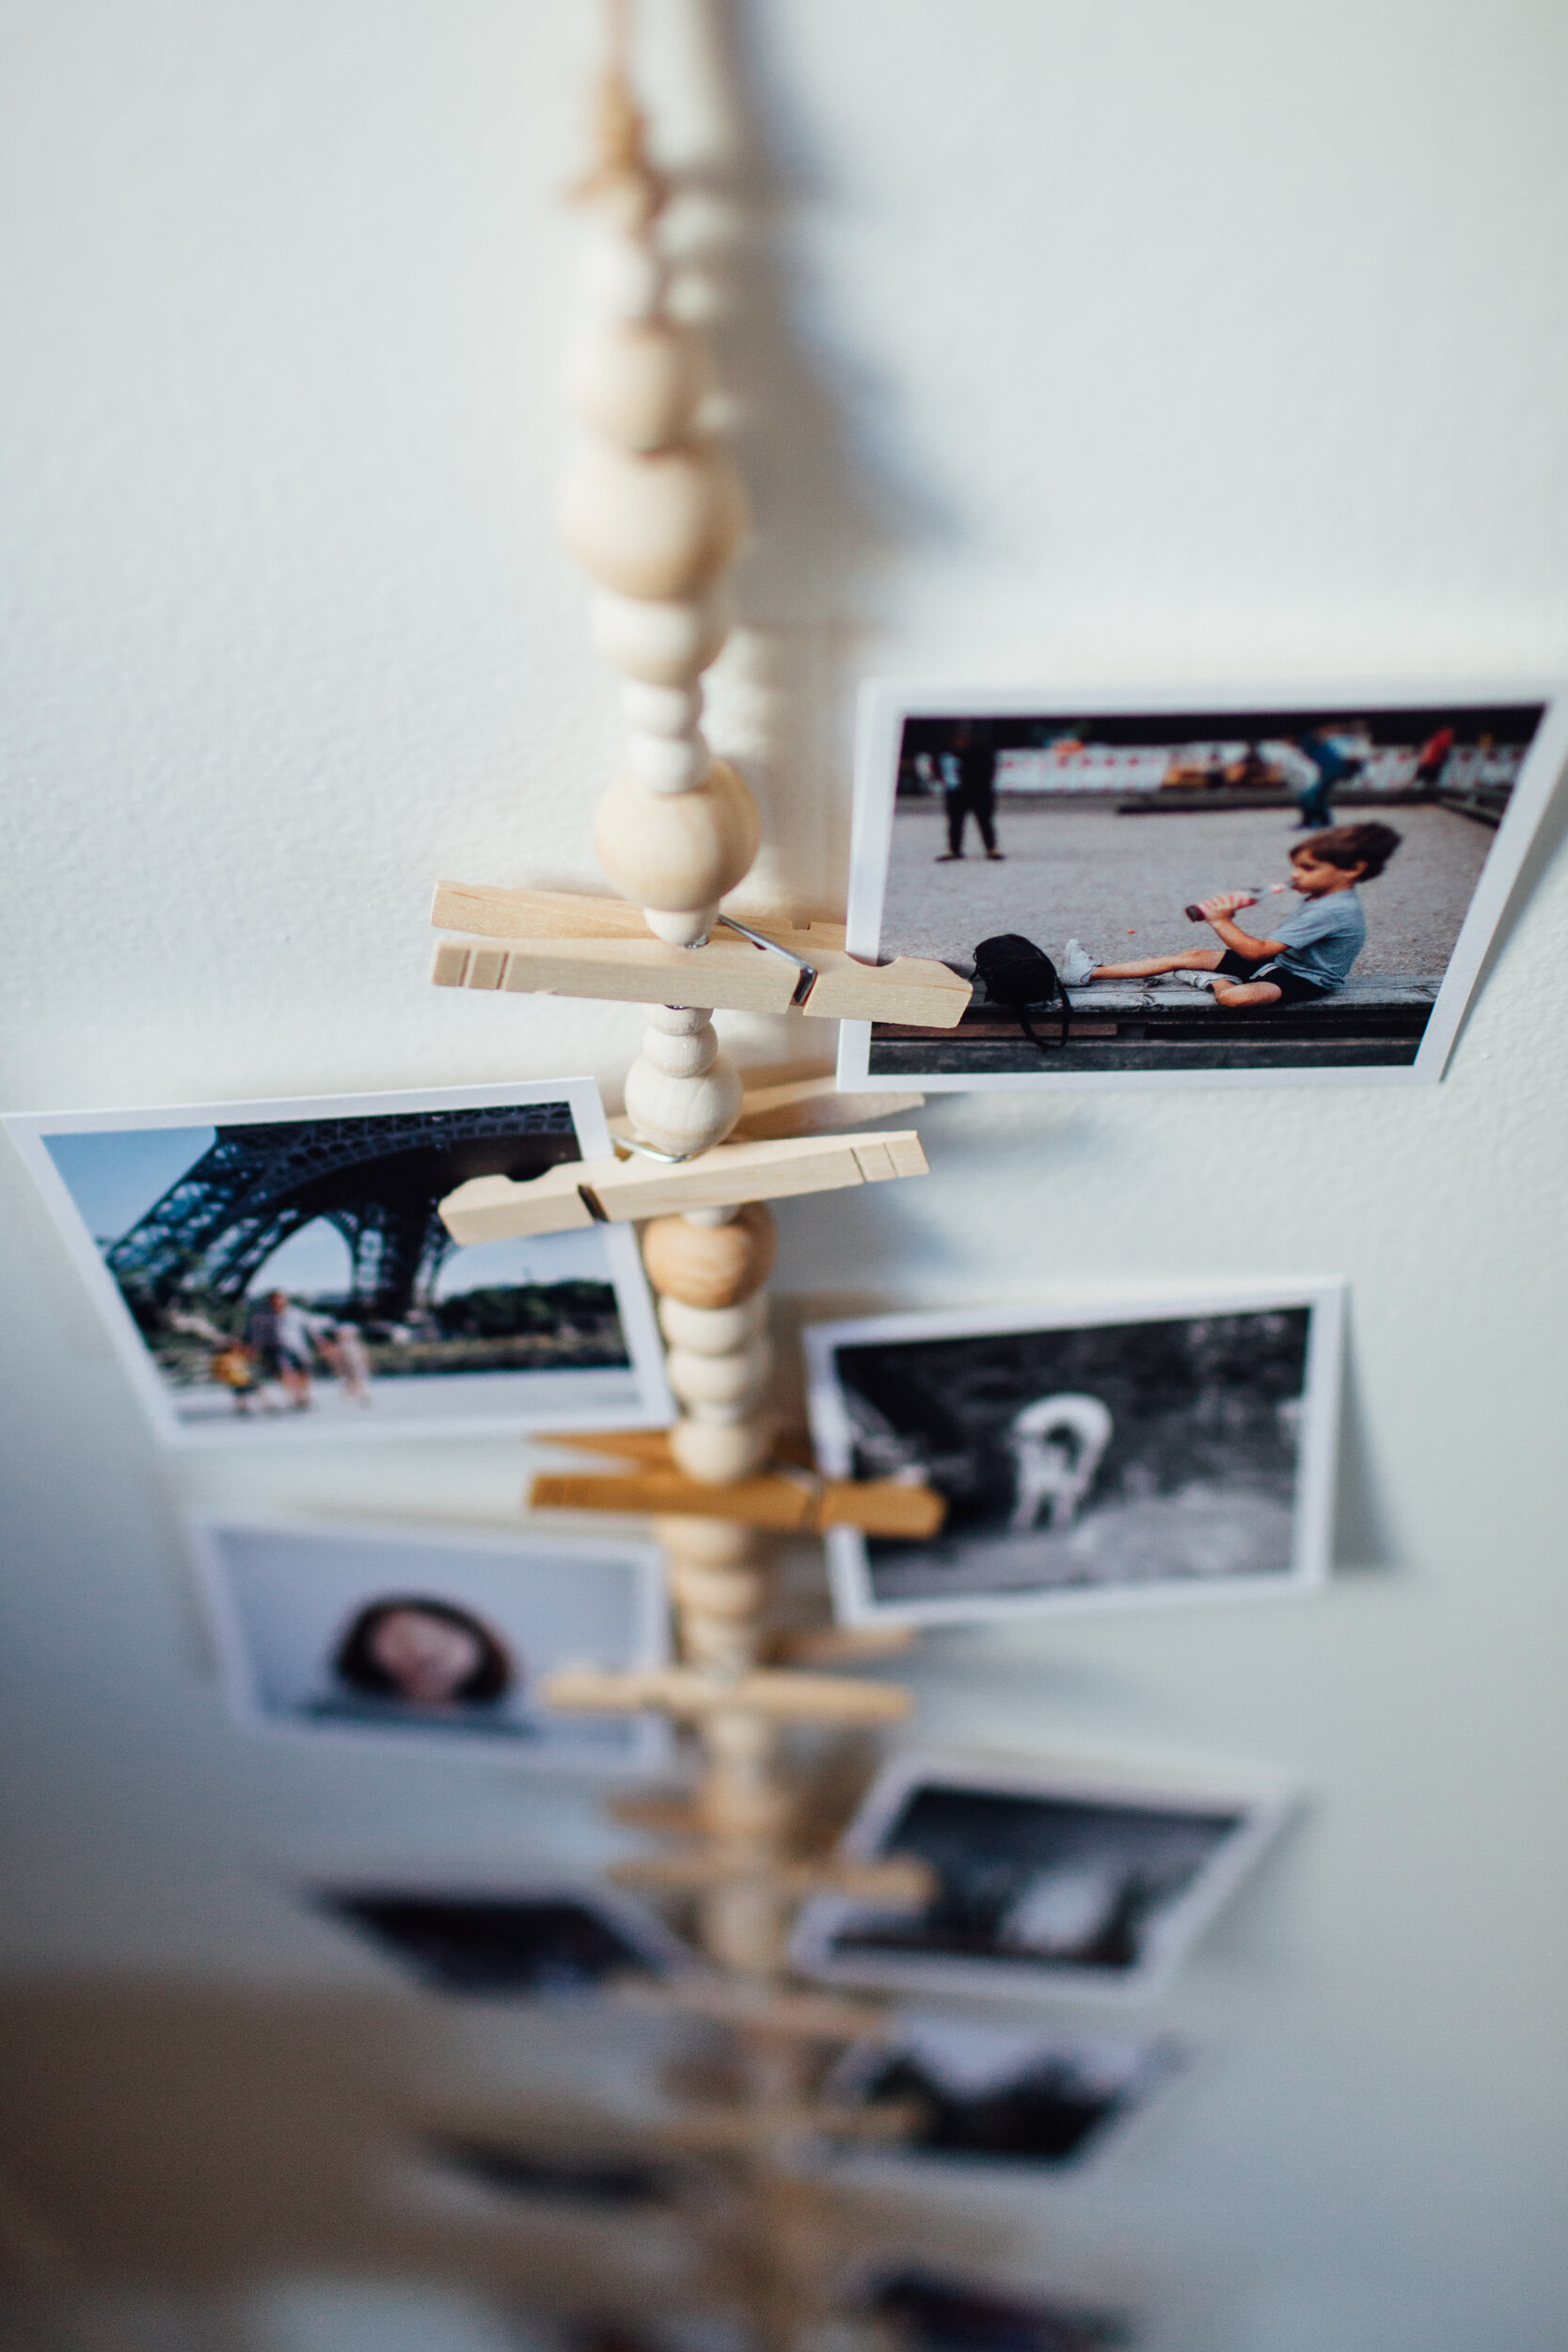
Don’t forget to add your clothespins every 6-8 beads.
Decide on the length you want and when you are done, tie another knot to secure it. Finish with smaller beads if you can so the beads don’t fall out!
TIPS
Use different sizes of beads. Here the biggest were 1”/ 20mm and the smallest 6mm in “natural”. I also used some I already had at home.
The number of clothespins depend on the way you will hang your garland: horizontally —use less pins because you will have all the pictures on one side and you need more space. If you go vertically, use more pins as the pictures will be on on both sides (like on my pictures).
You can buy colored beads or decorate them the way you want.
I found some wooden beads second-hand and bought the biggest on Etsy (I avoid Amazon as much as possible).
If you want to be fancy, you can add tassels or pom poms at the ends.

Now go capture what makes you smile and enjoy it everyday.
(Or add postcards, dried flowers, artwork…)
For this wooden bead garland, I printed my photos with Parabo Press because I love the quality and the square format. They often offer 20 square prints for free. Give them a follow.
Now that you made your first, make another one with the leftovers and send me pictures or tag me (@juliette _fradin_photography)!

I have a documentary approach for photographing families so they can just slow down and enjoy the simple moment of being together. If you would like to see more of my recent family photography, head over to my Instagram account. I love to document the love (and tears) that go into family life, or managing a small business or a sweet reunion. Subscribe to my newsletter, I would love to have you there. xx


